Wallet Wear and Tear: A Biker’s Field Guide to Leather Care and Restoration
The open road is a test of endurance, not just for the rider, but for their gear. Wind, rain, sun, and the constant friction of the ride take their toll on everything. While your jacket and boots might get the most attention, the wallet tucked in your back pocket is a silent soldier, bearing the brunt of every mile. It’s more than just a place to hold your cash and cards; it’s a chronicle of your journeys, absorbing the character of the road.
But character doesn’t have to mean destruction. That deep-grained leather wallet, whether it’s a minimalist cardholder or a chain-bound beast, can last for decades with the right care. Neglect it, and it will crack, fade, and fall apart. Treat it with respect, and it will evolve, developing a rich patina that tells a story no off-the-shelf accessory ever could. This is your field guide to ensuring your trusted companion weathers the storm and lives to ride another day.
Understanding the Enemy: What Your Wallet Faces on the Road
Before we get into solutions, it’s crucial to understand the forces working against your wallet:
- Moisture: The most obvious culprit. Getting caught in a downpour can saturate the leather, and as it dries, the natural oils are drawn out. This process leaves the leather stiff, brittle, and prone to cracking.
- Sunlight (UV Rays): Just like your skin, leather can get sunburned. Prolonged exposure to direct sunlight fades the dye and dries out the fibers, leading to a bleached, lifeless appearance.
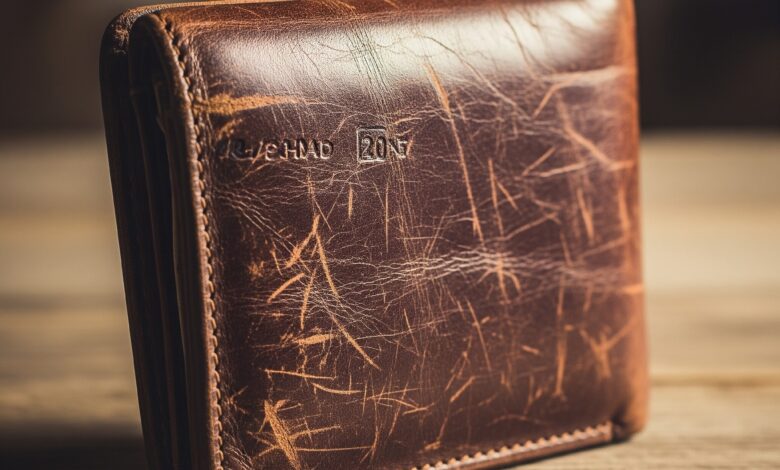
- Friction: The constant rubbing against your jeans, whether you’re riding or just walking around, gradually wears down the surface of the leather. This is most noticeable on the corners and edges.
- Body Oils & Sweat: Your body’s natural oils and sweat can seep into the leather over time. While a little bit contributes to the patina, an excess can stain and soften the leather undesirably.
- Over-stuffing: This is a self-inflicted wound. Cramming too many cards, receipts, and old fortunes from cookies puts immense stress on the seams and can permanently stretch the leather out of shape.
The Essential Toolkit: Your Leather Care Arsenal
You don’t need a professional workshop to care for your wallet. A few simple, inexpensive items are all it takes.
- Soft, Lint-Free Cloths: You’ll need at least two—one for cleaning and one for conditioning. Old, clean cotton t-shirts work perfectly.
- A Soft-Bristled Brush: An old toothbrush or a dedicated horsehair brush is perfect for getting grime out of seams and detailed tooling.
- Leather Cleaner: Choose a cleaner specifically formulated for leather. Avoid harsh soaps, detergents, or all-purpose cleaners, as they can strip essential oils. A pH-balanced saddle soap is often a great choice.
- Leather Conditioner: This is the most critical component. A quality conditioner made from natural oils and waxes (like mink oil or neatsfoot oil) replenishes the leather’s moisture and keeps it flexible.
- Waterproofing Treatment (Optional): For riders in wet climates, a beeswax or silicone-based waterproofer can provide an extra layer of protection.
The Restoration Ritual: A Step-by-Step Guide
Perform this ritual every 6-12 months, or whenever your wallet starts to look particularly thirsty or dirty.
Step 1: The Unloading
First, completely empty your wallet. Take out every card, bill, and forgotten note. This is also a great opportunity to declutter. Give the wallet a few good taps, open-side down, to dislodge any loose debris from the corners.
Step 2: The Dry Clean
Take your soft-bristled brush and gently go over the entire wallet. Pay special attention to the stitching, folds, and any embossed or tooled areas where dirt loves to hide. The goal here is to remove surface-level dust and grime before you introduce any moisture.
Step 3: The Deep Clean
Dampen one of your soft cloths with a small amount of water—it should be damp, not dripping. Apply a pea-sized amount of leather cleaner to the cloth. Work the cleaner into the leather in a gentle, circular motion. Don’t scrub aggressively. You’ll see the dirt lift onto the cloth. For stubborn spots, use your soft brush with a tiny bit of cleaner. Once you’ve cleaned the entire surface, use a second, clean damp cloth to wipe away any excess cleaner.
Let the wallet air dry naturally. Never use a hairdryer or place it near a heater, as intense heat will cause the leather to shrink and crack.
Step 4: The Rehydration (Conditioning)
This is where the magic happens. Once the wallet is completely dry, it’s time to condition. Apply a small, dime-sized amount of leather conditioner to your second clean cloth.
Massage the conditioner into the leather using small, circular motions. The key is to apply a thin, even coat. The leather should look slightly darker and more lustrous, not greasy or slick. Don’t forget the edges and interior folds. The hide is a natural material, and as explained by experts in leather craft, this conditioning process essentially feeds the fibers, keeping them supple. After applying, let the wallet sit for about an hour to fully absorb the conditioner.
Step 5: The Final Buff
After the conditioner has been absorbed, take a clean, dry section of your cloth and give the wallet a final buff. This removes any excess conditioner from the surface and brings out a beautiful, healthy sheen.
Step 6: The Reload and Rest
Before you stuff everything back in, let the wallet rest for a few hours, or even overnight if possible. This gives the oils time to fully settle into the fibers.
By investing in one of the many durable and stylish biker wallets available and giving it this small amount of attention, you’re not just preserving an accessory; you’re maintaining a piece of your identity. A well-cared-for wallet won’t just survive your adventures—it will become a testament to them, growing more distinguished with every mile you conquer.