Beginner’s Guide to Creating Realistic 3D Objects from Images
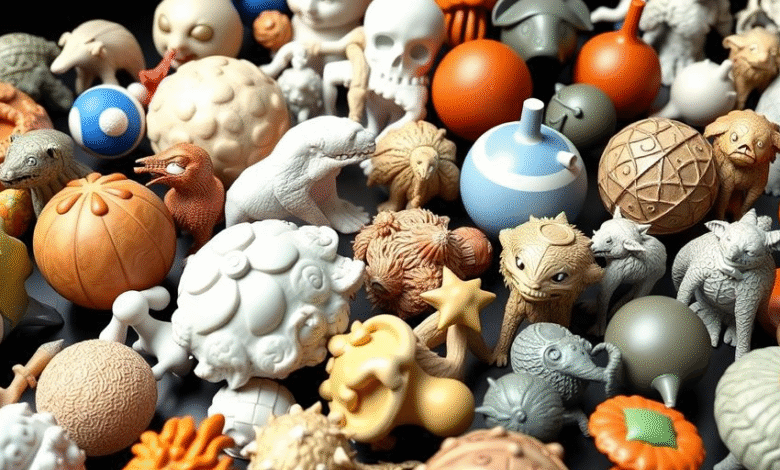
Before you can turn a flat picture into a three-dimensional object, it helps to know what a 3D model actually is. Think of it as a digital sculpture. It’s built from a few key parts: the shape itself, which is usually made of polygons (that’s the mesh), the surface details like color and material (textures), and the sense of volume or depth.
With the help of advanced 3d model AI technology, these components can be generated more efficiently and with greater accuracy from simple images. Getting these elements right is what makes a 3D model look and feel real.
There are a few main ways people go from a 2D image to a 3D model. One common method is photogrammetry, where software pieces together a 3D shape from many different photos of the same object. Another is using AI, which can guess the 3D form from just one or a few images, making it super fast for getting a basic shape. Then there’s vector tracing, which is great for turning flat designs, like logos, into 3D objects by tracing their outlines.
When you finish making your 3D model, you’ll need to save it in a specific file format. Common ones include OBJ, which is good for keeping textures with the shape, STL, which is mostly used for 3D printing because it just has the geometry, and FBX, which is popular for games and animation because it can store a lot of different information like movement and materials. The type of image you start with also really matters; photos work best for photogrammetry, while clean line art is better for vector tracing. Understanding these basics is the first step to making cool 3D stuff from pictures.
What Constitutes a 3D Model?
A 3D model is essentially a digital representation of an object in three dimensions. It’s constructed using geometric data, typically organized into a mesh. This mesh is made up of points (vertices), lines connecting them (edges), and flat surfaces (faces). The arrangement of these elements defines the object’s shape and form. Beyond the geometry, a 3D model also includes surface information, such as color, material properties, and visual details, which are applied through textures. The depth information inherent in the model gives it volume, making it suitable for various applications like animation, virtual reality, and 3D printing.
Key Techniques for 2D to 3D Conversion
Several techniques exist to transform a 2D image into a 3D model. Photogrammetry reconstructs 3D objects by analyzing multiple photographs taken from different viewpoints, calculating depth and shape. AI-based generation uses machine learning algorithms to infer 3D structures from 2D inputs, often requiring minimal data for rapid creation. Vector tracing converts flat images, like logos or drawings, into scalable vector paths that can then be extruded or manipulated to create 3D forms. Each method has its strengths depending on the source image and desired outcome.
Common 3D File Formats Explained
When exporting a 3D model, you’ll encounter various file formats, each suited for different purposes. The OBJ format is widely compatible and stores mesh data along with texture coordinates, making it good for general use. STL is a standard for 3D printing, containing only the surface geometry without color or texture information. FBX is a more complex format often used in game development and animation, as it can store mesh, textures, rigging, and animation data. Choosing the right format depends on where the 3D model will be used.
Image File Types for 3D Conversion
The type of image file used as a source for 3D conversion significantly impacts the result. Standard JPG files are compressed and may lose fine details, which can affect the accuracy of the generated 3D model. PNG files are often preferred because they support transparency, allowing for easier isolation of objects from their backgrounds. For methods like vector tracing, clean line art or vector graphics are ideal. For photogrammetry and AI-driven techniques, high-resolution photographs with good lighting and clear subjects yield the best results.
Choosing the Right Images for 3D Conversion
Photographs for Realistic 3D Assets
When aiming for realism, photographs are your best bet. Using multiple shots from different angles really helps software figure out the object’s shape. Think of it like showing a sculpture to someone from every side. A single photo can work for some AI tools, but for accurate results, more photos are better. This is how you get those super lifelike product models or scans of real-world items.
- High-quality camera needed.
- Multiple angles are key.
- Consistent lighting is important.
The quality of your source image directly impacts how accurate and clean your final 3D model will be. Picking the right image saves time later.
Sketches and Line Art for Stylized Models
Sketches and line art are great for a more artistic or stylized look. If you have clean lines, especially closed shapes, software can easily turn them into 3D. This is often used for logos, character designs, or anything where a sharp, graphic style is wanted. It’s a different approach than using photographs, focusing more on form than surface detail.
- Clean lines are a must.
- Closed shapes work best.
- Vector tracing is common.
Concept Art for Game Development
Concept art and 2D game assets are common starting points for game development. These images might not be photorealistic, but they give a clear idea of the style and form. You can use a mix of manual modeling and AI tools to convert them. It’s a fast way to get 3D versions of 2D game elements, helping to prototype ideas quickly.
- Good for game prototypes.
- AI and manual methods combined.
- Focus on style and form.
Essential Factors for Image-to-3D Success
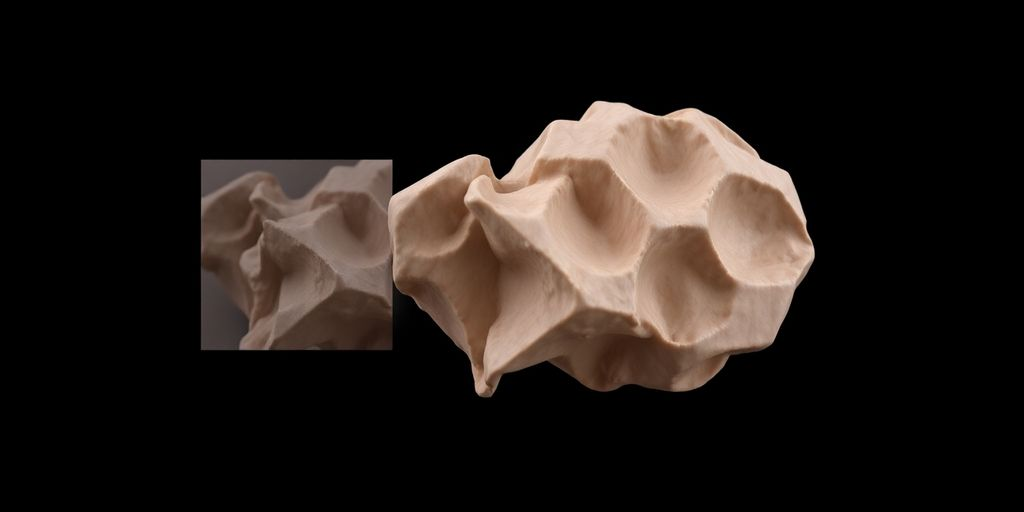
The Importance of High Resolution
When you’re trying to turn a flat image into a 3D object, the quality of that starting image really matters. Think of it like trying to build something detailed with blurry blueprints – it’s just not going to work out well. High-resolution images give the software more information to work with. This means sharper details, cleaner edges, and a more accurate final 3D model. Low-resolution images often lead to blocky or fuzzy results, no matter how good the conversion process is. So, always aim for the highest resolution you can get for your source image.
Achieving Clear Edges and Contrast
Clear edges and good contrast in your source image are super important. They act like signposts for the 3D conversion software, telling it exactly where one part of the object ends and another begins. If the edges are fuzzy or blend into the background, the software gets confused. This can result in a messy 3D model with bits missing or distorted shapes. A strong contrast between the object and its background helps the software isolate the subject more effectively, leading to a cleaner conversion. It’s all about making it easy for the tools to
Exploring Methods to Create a 3D Model from Images
Turning a flat image into a three-dimensional object might sound like magic, but it’s a practical process with several distinct approaches. Each method has its own strengths, making it suitable for different types of projects and desired outcomes. Understanding these techniques is key to picking the right path for your creative goals.
Photogrammetry: Reconstructing from Photos
Photogrammetry is all about using multiple photos of an object, taken from various angles, to build a 3D model. Think of it like piecing together a puzzle where each photo is a piece. The software analyzes these images, finds common points, and calculates the object’s shape and texture in 3D space. It’s a fantastic way to get really realistic results, especially for real-world objects. You’ll need a good set of photos, though – the more angles, the better the final 3D model.
AI-Based Generation for Rapid Creation
Artificial intelligence is changing how we create 3D models from images. AI tools can often infer depth and form from just one or a few images, making the process much faster. This is great for quick prototyping or when you don’t have many reference photos. The AI essentially guesses the missing information, which can be surprisingly accurate for many applications. It’s a rapidly developing field, offering new possibilities all the time.
Vector Tracing for Flat Designs
If you’re working with logos, icons, or simple line art, vector tracing is a useful method. This process converts the image into a series of mathematical lines and curves. Once vectorized, you can then
Step-by-Step Guide to Image-to-3D Conversion
Turning a flat image into a three-dimensional object might seem complicated, but a structured approach makes it manageable. This process involves several key stages, from picking the right starting material to getting your final 3D file ready.
Selecting Your Source Image
First things first, you need a good image. The quality of your starting point really matters for the final 3D model. Think about what you want to create. For realistic objects, clear photographs from multiple angles are best. If you’re aiming for something more stylized, like a logo or a character, clean line art or sketches work well.
Preparing Your Image for Processing
Once you’ve picked your image, it’s time to get it ready. This usually means cleaning it up. You’ll want to remove any distracting background elements and make sure the main subject is clear. Cropping the image to focus on your object is also a good idea. High resolution is key here; a sharper image means a more detailed 3D model.
Generating Depth and Refining the Model
This is where the magic happens. Depending on the method you choose – whether it’s photogrammetry, AI tools, or manual modeling – you’ll generate the 3D form. AI tools often estimate depth automatically. For other methods, you might extrude shapes or build geometry based on the image. After the initial generation, you’ll need to refine the model. This involves smoothing out rough edges, adjusting proportions, and cleaning up any messy geometry to make the 3D model look right.
Exporting Your Completed 3D Model
Finally, you need to save your work in a format that you can use. Common file types include .OBJ, .STL, or .FBX, depending on where the model is headed – maybe a 3D printer, a game engine, or another software program. Make sure to choose the right export settings for your intended use. This step completes the image-to-3D conversion process, giving you a usable 3D asset.
Leveraging AI for 3D Model Creation
How AI Transforms 2D Images into 3D
Artificial intelligence is changing how we make 3D models from flat images. AI tools use machine learning to guess the depth and shape of an object from just one picture. This makes creating 3D assets much faster than traditional methods. The AI analyzes the image, looking for clues like shading, perspective, and known object shapes to build a 3D representation. This process is great for quickly getting a basic 3D model from a sketch or a photo.
AI can significantly speed up the initial stages of 3D creation. It’s like having a digital assistant that can quickly rough out a shape. This allows creators to focus more on refining the details and artistic direction. The accuracy of the AI-generated model often depends on the quality and clarity of the input image. A well-lit photo with a clear subject will yield better results than a blurry, cluttered one. This technology is still evolving, but it’s already a powerful tool for many applications.
AI-based 3D generation is particularly useful for rapid prototyping and concept development. Designers can take a quick sketch and turn it into a 3D model in minutes, allowing for faster iteration and feedback. This approach democratizes 3D creation, making it more accessible to people without extensive 3D modeling experience. The ability to quickly visualize ideas in three dimensions is a game-changer.
AI Tools for Fast 3D Prototyping
Several AI tools are available to help speed up the 3D prototyping process. These platforms often work by taking a single 2D image and automatically generating a 3D mesh. Tools like Kaedim or ArtSmart.ai are designed for ease of use, allowing users to upload an image and receive a 3D model with minimal input. This is perfect for getting a quick visual representation of a product idea or a character concept.
These AI tools are not just for simple shapes; they can also interpret more complex imagery. For game development, AI can turn concept art into game-ready assets much faster than manual modeling. The output often requires some cleanup and refinement, but the initial generation is incredibly quick. This allows teams to populate virtual worlds or test product designs with 3D models much more efficiently.
When using AI for prototyping, it’s important to understand the tool’s capabilities and limitations. Some tools are better suited for specific types of objects or styles. Always check the output and be prepared to make adjustments to get the desired result. The speed at which you can get a 3D model from an image using AI is truly impressive.
Creative Exploration with AI-Powered 3D
AI-powered 3D creation opens up new avenues for creative exploration. Artists and designers can experiment with different styles and ideas by simply generating multiple variations from a single source image. This iterative process, driven by AI, can lead to unexpected and innovative results. It allows for a more playful and experimental approach to 3D asset creation.
Imagine taking a simple doodle and seeing it come to life as a 3D object in seconds. This is the power of AI in 3D modeling. It removes some of the technical barriers, letting creativity take the lead. You can explore different textures, forms, and details by feeding slightly altered images into the AI. This makes the creative process more dynamic and less constrained by traditional workflows.
The ability to quickly generate and iterate on 3D models using AI is transforming industries from gaming to product design. It allows for faster visualization, more experimentation, and ultimately, more creative outcomes. This technology is making 3D creation more accessible than ever before.
Refining and Preparing Your 3D Models
Once you have a 3D model generated from your images, the real work of making it look good and ready for its next step begins. This stage is all about refinement and preparation. It’s where you take a raw digital creation and polish it into something usable, whether that’s for 3D printing, a game, or just a portfolio piece. Think of it like sculpting; you start with a block and chip away the excess to reveal the form within.
Cleaning up artifacts and mesh noise is a common first step. These are often stray bits of geometry or unwanted details that the conversion process might have introduced. You’ll want to smooth out any jagged surfaces or fill in small holes that might have appeared. This makes the model look more natural and less like a digital artifact. Getting the mesh topology right is also important, especially if the model will be animated or used in real-time applications. This means organizing the polygons in a way that allows for smooth deformation and efficient rendering.
Applying textures and UV mapping is the next big step. UV mapping is like unfolding the 3D model’s surface into a flat 2D space so you can paint or apply textures to it. Good UV mapping prevents stretching or distortion of the textures. Finally, optimizing models for performance is key. This involves reducing the polygon count where possible without sacrificing too much visual detail. A well-optimized model will load faster and run smoother in various applications, making your 3D object more versatile.
Bringing Your 3D Models to Life
Preparing Models for 3D Printing
Once your 3D model is ready, turning it into a physical object is the next exciting step. For 3D printing, you’ll need to export your model in a compatible format, typically .STL or .OBJ. These files describe the surface geometry of your object. Before sending it to the printer, it’s wise to run it through slicing software. This software translates the 3D model into layers and toolpaths that the 3D printer can understand. It’s here you’ll set print quality, infill density, and support structures. Making sure your model is watertight and has no holes is key for a successful print.
Loading Material and Starting the Print
With your model sliced and the printer prepared, it’s time to load the printing material. This could be plastic filament like PLA or ABS, resin, or even metal powder, depending on your printer type. Ensure the material is loaded correctly and the print bed is clean and level. Starting the print initiates the layer-by-layer creation process. You can monitor the progress, but often, the printer will handle the build autonomously. Patience is a virtue here, as complex models can take many hours to complete. The journey from a digital file to a tangible object is quite rewarding.
The Journey of 3D Modeling Begins
Creating a 3D model from an image is just the start of a larger creative process. Whether you’re aiming for 3D printing, game development, or augmented reality, the skills you develop are transferable. You’ve learned to see objects in a new way, understanding their form and structure. This ability to translate 2D concepts into 3D reality is a powerful skill. Keep experimenting with different images and techniques to further refine your craft. The world of 3D modeling is vast, and your journey has just begun.
Your 3D Modeling Journey Continues
So, you’ve learned the basics of turning flat images into three-dimensional objects. Whether you used photos for photogrammetry or sketches for extrusion, you’ve taken a big step. Remember, practice is key. Don’t be afraid to try different software and techniques. The world of 3D modeling is vast, and this is just the beginning. Keep experimenting, keep creating, and see where your new skills take you.