Brand New Heat Press Platen Has a Tiny Metal Bump: Causes, Fixes, and Prevention
A brand-new heat press is essential for businesses and hobbyists in the garment printing industry. However, encountering a tiny metal bump on the platen can be frustrating and impact the quality of your prints. This issue can cause uneven pressure, temperature inconsistencies, and print distortions, leading to wasted materials and poor results. If you have noticed a small bump on your heat press platen, it is crucial to address it immediately. This guide will explore the causes, solutions, and preventive measures to ensure your heat press functions flawlessly.
Understanding the Issue: Why Does Your Heat Press Platen Have a Bump?
Manufacturing Defect
A manufacturing defect is one of the most common reasons for a small bump on a heat press plate. Some heat press machines may have slight imperfections in the metal surface due to errors in the fabrication process.
Residue Buildup
If you use adhesive-backed materials, vinyl, or sublimation sheets, residue may accumulate. Over time, hardened adhesive can form small bumps on the platen.
Warping Due to Heat Exposure
Continuous use of a heat press at high temperatures can cause warping of the metal surface. Even slight warping can result in tiny protrusions.
Trapped Debris or Dust Particles
During the transportation or assembly process, tiny debris or dust particles may get trapped under the heat press coating, causing small bumps to form.
Improper Storage and Handling
If a heat press is stored exposed to moisture, dust, or extreme temperatures, it may develop surface imperfections.
Effects of a Tiny Metal Bump on the Heat Press Platen
Ignoring a small bump on the heat press platen can have negative consequences, including:
- Uneven Heat Distribution: Certain areas of the print may receive more or less heat, leading to faded or scorched prints.
- Inconsistent Pressure Application: The bump may cause an imbalance, preventing the material from receiving uniform pressure.
- Print Distortion: Due to uneven pressure distribution, designs may appear stretched, warped, or incomplete.
- Material Damage: High-pressure points can burn, crease, or tear delicate materials.
- Increased Waste: Mistakes caused by a flawed platen can lead to wasted garments, vinyl, or transfer papers.
How to Identify the Problem: Testing the Platen for a Bump
Before fixing the issue, you need to confirm the existence and location of the bump. Here are some simple methods:
Visual Inspection
- Please turn off the heat press and let it cool down.
- Look for any visible irregularities on the platen surface.
Touch Test
- Gently run your fingers across the surface to detect any raised areas.
- A small bump should feel elevated compared to the rest of the platen.
Straight Edge Test
- Place a level or straight-edge ruler over the platen.
- If there is a gap beneath the ruler in a specific area, it confirms the presence of a bump.
Heat Distribution Test
- Heat the platen and place a heat-resistant material (such as a silicone sheet) over it.
- If the bump affects heat distribution, some areas may appear darker or lighter on the test material.
Step-by-Step Solutions to Fix a Tiny Metal Bump
Cleaning the Platen
If the bump is caused by residue buildup, follow these steps:
- Please turn off the machine and let it cool down.
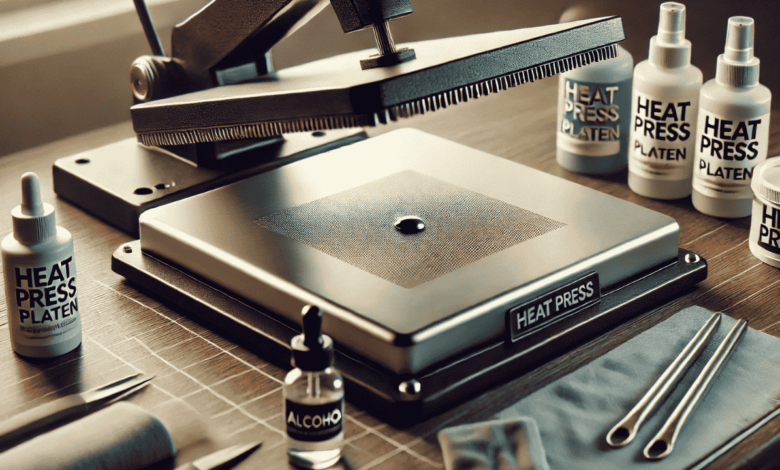
- Prepare a cleaning solution (a mix of isopropyl alcohol and water works well).
- Use a soft cloth or non-abrasive cleaner to wipe the surface.
- For stubborn residue, use a plastic scraper (avoid metal tools to prevent scratches).
- Check if the bump is removed by performing the touch test again.
Sanding Down the Bump
For small bumps caused by minor imperfections, sanding may help:
- Use fine-grit sandpaper (800-1200 grit).
- Gently sand the raised area in a circular motion.
- Wipe off the dust with a damp cloth and check if the surface is even.
Using Heat-Resistant Pads
If you need an immediate solution while waiting for repairs:
- Place a heat-resistant pad or Teflon sheet over the bump.
- This helps distribute pressure more evenly and minimizes imperfections in the print.
Professional Repair or Replacement
If the bump is a manufacturing defect or severe damage:
- Contact the manufacturer for a replacement platen (if under warranty).
- Consult a professional technician if DIY solutions don’t work.
Preventive Measures to Avoid Bumps in the Future
Regular Cleaning Routine
- Wipe the platen after every use to prevent residue buildup.
- Use Teflon sheets to reduce direct contact with adhesives and inks.
Proper Storage and Handling
- Keep the heat press in a dry, dust-free environment.
- Avoid placing heavy objects on the platen when not in use.
Inspect New Equipment Before Use
- Check for defects when you first receive the heat press.
- Test heat distribution before printing bulk orders.
Use the Right Pressure and Temperature Settings
- Follow manufacturer guidelines to avoid overheating or excessive pressure that can warp the platen.
Routine Inspection
- Perform a quick check weekly if you use your heat press regularly.
- If used occasionally, inspect before starting a new project.
Conclusion
A tiny metal bump on a brand-new heat press platen might seem minor, but it can significantly impact print quality and efficiency. You can fix the issue and prevent future occurrences by identifying the cause and using the appropriate solutions.
Regular maintenance, proper handling, and investing in quality equipment will help ensure your heat press operates smoothly. Whether cleaning off residue, sanding minor imperfections, or seeking professional assistance, promptly taking action will save you time, money, and frustration in the long run.
You May Also Read: GVF90433S Gama Hot Water Heater: Your Guide to Reliable, Energy-Efficient Hot Water