How to Change DNS Settings for Faster Internet: A Step-by-Step Guide
A fast and secure internet connection is more important than ever, especially with growing cybersecurity threats and privacy concerns. While most people focus on upgrading their internet plans or using VPNs, one often-overlooked way to improve speed and security is by changing DNS settings.
If you’ve ever experienced slow browsing speeds, restricted content, or concerns about online privacy, adjusting your DNS can make a noticeable difference. It might sound technical, but the process is easier than you think. In this guide, we’ll break down what DNS is, why it matters, and how to change DNS settings on different devices.
Changing DNS: Why It Matters
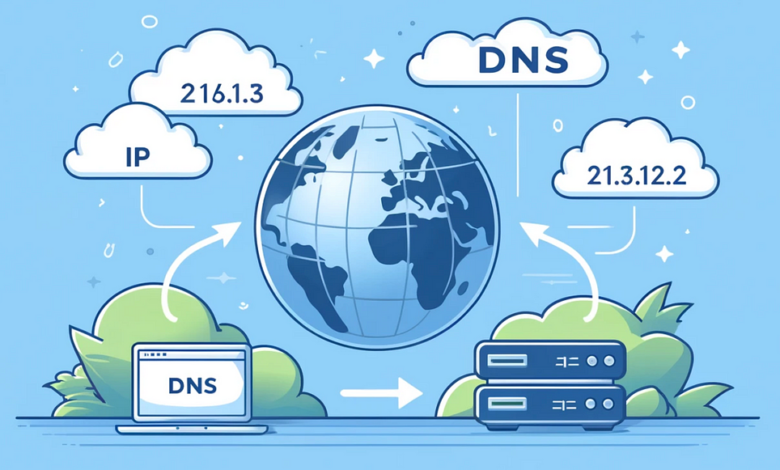
The Domain Name System (DNS) acts as the internet’s address book. When you type a website name into your browser, DNS translates it into an IP address, allowing your device to find and connect to the correct site. In simple terms, DNS servers help you access websites.
Not all DNS servers are created equal. Most people use their Internet Service Provider’s (ISP) default DNS without thinking twice. However, these servers aren’t always the fastest or the most private. Some ISPs even track your browsing habits or redirect you to unwanted pages. Changing to different DNS servers allows you to see:
● Some DNS providers resolve queries faster, leading to quicker website loading times.
● Privacy-focused DNS services help protect your data by minimizing tracking.
● Changing your DNS allows you to access content that isn’t available in your region and helps you bypass restrictions.
Adjusting DNS Configuration for Better Speed and Security
● Internet Speed: Alternative DNS servers can load websites faster by quickly converting domain names into IP addresses. This improvement is obvious if your ISP’s DNS servers are overloaded or inadequate.
● Privacy: Your ISP’s DNS servers automatically handle your internet inquiries, possibly monitoring your behaviour. Changing to a DNS service that stresses privacy will allow you to maintain private browsing behaviour.
Some ISPs or networks block access to certain websites. By adjusting your DNS settings, you can get free access to the internet and help get over these restrictions.
Many outside DNS providers provide phishing protection and malware filtering, providing another level of security to your online activity.
Changing DNS on Different Devices
Altering DNS settings varies across devices. Below are step-by-step instructions for several common platforms:
Windows
● Open Network Settings
● Click on the Start menu and select Settings
● Navigate to Network & Internet
● Access Adapter Options
● Click on Change adapter options
● Select Network Connection
● Right-click on your active network connection (e.g., Wi-Fi or Ethernet) and choose Properties
● Configure DNS Settings
● Select Internet Protocol Version 4 (TCP/IPv4) and click Properties
● Choose Use the following DNS server addresses
● Enter your preferred DNS server addresses
● Click OK to save changes
macOS
● Open System Preferences
● Click on the Apple icon in the top-left corner and select System Preferences
● Go to Network Settings
● Click on Network
● Select Active Connection
● Choose your active network connection (e.g., Wi-Fi or Ethernet) from the list on the left
● Access DNS Settings
● Click on the Advanced button
● Navigate to the DNS tab
● Add New DNS Servers
● Click the + button under the DNS Servers list
● Enter your preferred DNS server addresses
● Click OK, then Apply to save changes
Android
● Open Settings
● Tap on the Settings app
● Access Network Settings
● Select Network & Internet
● Modify Wi-Fi Network
● Tap on Wi-Fi
● Long-press your connected Wi-Fi network and select Modify network
● Configure DNS
● Tap on Advanced options
● Change IP settings to Static
● Enter your preferred DNS server addresses in the DNS 1 and DNS 2 fields
● Tap Save to apply changes
iOS
● Open Settings
● Tap on the Settings app
● Access Wi-Fi Settings
● Select Wi-Fi
● Modify Network
● Tap the i icon next to your connected Wi-Fi network
● Configure DNS
● Scroll down to DNS and tap on Configure DNS
● Select Manual
● Tap Add Server and enter your preferred DNS server addresses
● Remove any existing DNS servers if necessary
● Tap Save to apply changes
Routers
Changing the core DNS settings on your router will affect all the devices connected to your network:
● Access Router Admin Panel
● Open a web browser and enter your router’s IP address (commonly 192.168.1.1 or 192.168.0.1)
● Log In
● Enter your router’s username and password
● Navigate to DNS Settings
● This varies by router model but is typically found under Network Settings or Advanced Settings
● Enter Preferred DNS Servers
● Input your chosen DNS server addresses in the designated fields
● Save and Reboot
● Save your changes and restart your router to apply the new settings
Note: For step-by-step instructions tailored to your router model, check the manufacturer’s manual or support website.
Handling Common Issues
Although updating DNS settings is simple, sometimes you might encounter certain issues:
● No Internet Connection: If your internet stops working after updating your DNS settings, double-check that you’ve entered the correct addresses. A simple typo can cause connectivity issues. If the problem persists, try flushing your DNS cache:
○ On Windows: Open the Command Prompt, type ipconfig /flushdns, and press Enter.
○ On macOS: Open Terminal and enter sudo killall -HUP mDNSResponder, then press Enter.
● Slow Browsing Speeds: If your internet slows down or doesn’t improve, try different DNS servers to find the best option.
● Inability to Access Certain Websites: Some DNS providers might ban particular websites. Should this arise, give some thought to changing providers.
● Returning to Default Settings: If problems persist, you can restore your ISP’s default DNS by selecting the automatic DNS option.
Understanding the Importance of VPNs
A VPN (Virtual Private Network) is essential for online security and privacy. It encrypts your internet traffic, preventing ISPs, hackers, and other third parties from tracking your activity. This keeps your personal data safe from cyber threats.
With a VPN you can access content and services restricted in certain regions by bypassing geo-blocks and censorship. It also protects your data on public Wi-Fi, where hackers can exploit security gaps to steal sensitive information. Whether you’re gaming, streaming, or browsing, a VPN keeps your online activity safer and more private.
Wrapping Up
Changing your DNS settings is a simple yet effective way to improve security, boost internet speed, and access restricted content. It can help protect your privacy by reducing tracking. Changing DNS settings will also enhance browsing performance with faster connections, and even bypass regional blocks on certain websites and services.
While DNS settings might seem like a small tweak, they make a big difference. Whether you’re looking for faster browsing, better security, or a more private online experience, taking control of your DNS settings is an easy and effective way to upgrade your internet.