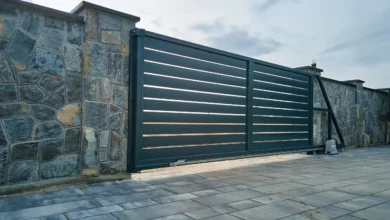
How to Repair Your Greenhouse with Acrylic Glazing
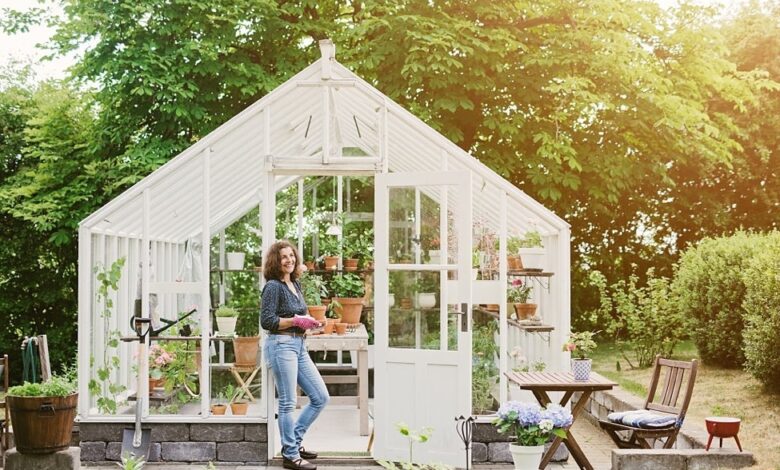
Greenhouses put up with a lot, including storms, cold snaps, and even the odd football. If your panels are starting to crack or cloud over, don’t worry. You won’t need to replace the whole thing. Using acrylic glazing, you can patch things up neatly and without too much fuss.
Acrylic is lightweight, strong, and lets in just as much light as glass without the risk of it smashing. If you’re getting ready to sort out some damage, keep reading for a simple guide to help you do it right.
Why Acrylic Is the Right Choice
Acrylic is tough. It’s much harder to break than traditional glass and far lighter, which makes it easier to lift and fit, especially if you’re doing it on your own. It’s also clearer than many other plastics, so your plants still get the light they need to thrive.
The bonus? It can be cut to whatever size you need. That’s handy if your greenhouse isn’t a standard shape or if you only need to replace one or two panels. Acrylic glazing also comes in different thicknesses and finishes, so whether you’re after strength, shade, or privacy, there’s an option to suit.
Assess the Damage First
Start by walking around your greenhouse to check what needs sorting. You’re looking for cracked or missing panels, cloudy spots, and any areas where water or wind could sneak in. It’s also worth giving the frame a once-over. If the wood’s rotting or the metal is bent, fix that first, as there’s no point placing new panels into a frame that’s falling apart.
Some damage might not be obvious at first glance, so check carefully, especially after rough weather. A quick note or photo on your phone can help when it’s time to order new sheets.
Choosing the Right Acrylic Sheet
Match your replacement panels to the originals in size and thickness, unless you’re updating the whole section. Clear acrylic lets in the most light, while tinted sheets offer more shade or privacy. UV-protected options stay clearer for longer. For easier fitting, go for pre-cut panels with smooth edges or drilled holes that save time during installation and lower the risk of cracking while handling or fixing.
How to Fit New Panels
Carefully remove any broken panels, wearing gloves to avoid injury. Clean and dry the frame thoroughly. Then, slide the new panel into place gently.
If using screws, pre-drill small holes and use rubber washers to prevent pressure cracks. For clip or channel systems, ensure the panel fits without forcing. Acrylic is flexible but not unbreakable. Handle it with care and your greenhouse will stay in good shape for years to come.
Keeping Panels in Good Shape
Once fitted, clean the panels with warm water and a soft cloth to avoid scratches. Avoid harsh sprays or rough sponges. Every few months, especially during autumn and winter, check for signs of movement or loose fittings. Clear away leaves or branches that might press against the panels and tighten any fixings that may have come loose.
Patch It Up Right and Let It Last
Greenhouse repairs don’t have to be tricky or expensive. With strong, flexible acrylic panels and a bit of care, you’ll have everything looking tidy and secure in no time. Take the first step, measure up, get the right sheet, and bring your greenhouse back to life with a simple repair that lasts.