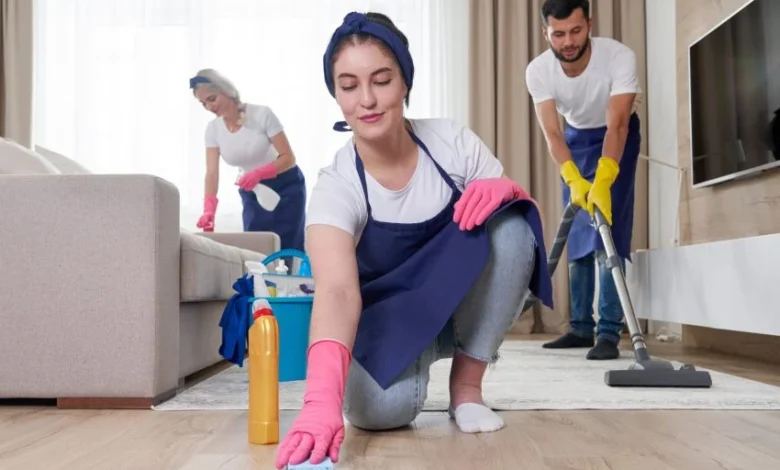
The Ultimate Guide to Leaving a Spotless Space: Mastering the Move-Out Cleaning Process

Moving into a new home or apartment brings excitement, fresh beginnings, and a world of possibilities. But before settling into your next chapter, there’s one essential step that shouldn’t be overlooked: leaving your current space clean and presentable. Whether you’re a tenant aiming to secure your deposit, a homeowner preparing a property for sale, or someone simply committed to leaving things in good order, mastering the move out cleaning process is both responsible and rewarding.
Cleaning an entire property from top to bottom can seem overwhelming at first. However, with the right plan and a bit of elbow grease, you can ensure everything is spotless and ready for its next occupant. This article provides a complete guide on how to tackle every room, appliance, and surface—ensuring no corner is forgotten.
Why Move-Out Cleaning Matters
Before diving into the specifics, it’s important to understand why move out cleaning is such a crucial task.
- Deposit Recovery for Tenants: Most landlords require a thorough cleaning before returning a security deposit. Overlooking cleaning tasks could result in deductions—or losing the deposit entirely.
- Positive Impressions for Buyers: If you’re selling your property, a clean environment helps make a strong first impression. It communicates that the property was well maintained and ready for new owners.
- Personal Responsibility: Leaving a place clean is a simple act of respect—for the space and for whoever is coming next. It’s about finishing one chapter of your life in the best way possible.
- Avoiding Additional Charges: Many landlords or property management companies hire professional cleaners and deduct the cost from your deposit if the property isn’t cleaned properly. Doing it yourself—or hiring your own cleaner—gives you control over the cost and quality.
Preparation: Before You Start Cleaning
Cleaning a home you’re moving out of is different from regular weekly chores. It’s about restoring the property to its original (or better) condition. Before you begin scrubbing and sweeping, take a few important preparatory steps:
- Empty the Property: It’s far easier to clean when the space is clear. Remove all furniture, personal belongings, and trash. Only after the property is empty can deep cleaning be truly effective.
- Gather Supplies: Essential tools include:
- Broom and dustpan
- Mop and bucket
- Vacuum cleaner
- Microfiber cloths
- Sponges and scrub brushes
- All-purpose cleaner, glass cleaner, and disinfectant
- Baking soda and vinegar (for eco-friendly solutions)
- Gloves and trash bags
- Broom and dustpan
- Make a Checklist: Go room by room and note down the tasks required. This helps track your progress and ensures nothing is overlooked.
The Room-by-Room Deep Cleaning Guide
1. Kitchen
The kitchen often requires the most effort, as it accumulates grease, food particles, and stains. Focus on the following:
- Appliances:
- Refrigerator: Unplug and remove all shelves and drawers. Clean with warm soapy water or baking soda solution. Don’t forget to wipe behind and underneath.
- Oven: Use an oven cleaner or a mix of baking soda and vinegar. Scrub the inside, racks, and the stovetop.
- Microwave and Dishwasher: Wipe interiors, exteriors, and seals. Remove filters if possible and clean them.
- Refrigerator: Unplug and remove all shelves and drawers. Clean with warm soapy water or baking soda solution. Don’t forget to wipe behind and underneath.
- Cabinets and Drawers: Empty, vacuum out crumbs, and wipe down inside and outside with a gentle cleaner.
- Sink and Countertops: Scrub the sink with a disinfectant and clear out any clogs. Wipe countertops with an appropriate surface cleaner.
- Floors: Sweep, then mop thoroughly—especially around the corners and under appliances.
2. Bathrooms
Bathrooms need to be sanitized as well as cleaned for visual appeal.
- Toilets: Use a toilet brush and cleaner to remove stains and disinfect inside the bowl. Wipe the tank, handle, and base.
- Bathtubs and Showers: Remove soap scum and mildew from tiles, glass, and grout. Don’t forget the drain and fixtures.
- Mirrors: Use glass cleaner to achieve streak-free shine.
- Vanity, Cabinets, and Sink: Wipe surfaces inside and out. Check for toothpaste buildup or water stains and scrub them off.
- Floors and Walls: Sweep and mop the floor. Wipe down walls, especially behind the toilet and around the sink area.
3. Bedrooms and Living Areas
These spaces may appear cleaner than kitchens or bathrooms, but they still require attention.
- Dusting: Wipe down all surfaces, including window sills, baseboards, door frames, and ceiling fans.
- Closets: Empty and vacuum inside. Remove scuff marks or cobwebs.
- Windows: Clean the glass, tracks, and sills.
- Floors: Vacuum carpets thoroughly or consider steam cleaning if heavily soiled. Mop hardwood or tile floors.
4. Entryways and Hallways
Often neglected, these areas still need attention:
- Light Fixtures: Remove dust and cobwebs from light fittings.
- Walls: Spot clean for smudges, fingerprints, or scuffs. Magic erasers work well for stubborn marks.
- Doors and Handles: Wipe down both sides of doors and sanitize handles.
5. Garage, Basement, and Outdoor Areas
If your lease or agreement includes exterior spaces, don’t forget:
- Garage: Sweep out debris, remove oil stains if possible, and discard unwanted items.
- Basement: Clean floors and corners. Check for mold or mildew and address it accordingly.
- Patios or Decks: Sweep and remove leaves, weeds, or trash. Wash down surfaces if needed.
Final Touches and Inspection
Once all cleaning tasks are complete, take time to walk through the property. Bring your checklist and inspect each room as if you were the landlord or buyer.
- Open and close drawers, closets, and doors.
- Check that lights work and are dust-free.
- Ensure toilets flush and faucets are not leaking.
- Confirm that appliances are off and clean.
- Take photos of the cleaned property for documentation, especially if you’re a tenant wanting to protect your deposit.
DIY vs. Professional Move-Out Cleaning
Deciding whether to clean yourself or hire professionals depends on time, energy, and expectations.
DIY Cleaning
- Pros: Saves money, gives personal control over details, and can be done in phases.
- Cons: Time-consuming and physically demanding, especially for large spaces.
Professional Cleaning
- Pros: Efficient, thorough, and often includes services like carpet steaming and appliance detailing.
- Cons: More costly, and you must vet companies for reliability.
If you’re short on time or want guaranteed results, hiring a trusted cleaning service for move out cleaning can provide peace of mind.
Sustainable Cleaning Practices
If environmental impact is a concern, you can perform a complete cleaning without harsh chemicals:
- Use white vinegar to disinfect and cut through grime.
- Baking soda works well as a deodorizer and scouring agent.
- Choose plant-based cleaners with biodegradable ingredients.
- Reuse cloths and mop heads rather than disposable ones.
Eco-friendly cleaning is not only safe for the planet but also leaves the home smelling fresh without synthetic fragrances.
What Landlords and Buyers Expect
Each landlord or buyer has different standards, but here are a few common expectations:
- All surfaces dusted and free of stains
- Carpets vacuumed and (if possible) steam-cleaned
- No trash or belongings left behind
- Appliances and cabinets cleaned inside and out
- Bathrooms and kitchens sanitized
- No visible damage (scratches, holes, dents)
Meeting or exceeding these expectations helps ensure a smooth transition, whether you’re ending a lease, selling your home, or preparing it for rental.
Conclusion
Moving is a major life event filled with excitement and a fair share of stress. Amid packing boxes and coordinating logistics, it’s easy to underestimate the importance of a thorough move out cleaning in Pleasant Prairie.However, giving attention to this final step not only protects your financial interests but also leaves behind a sense of pride and respect for the space.
By following a clear strategy, using the right tools, and paying attention to detail, anyone can turn a lived-in home into a spotless, welcoming environment for its next occupant. Whether you tackle the job yourself or bring in professionals, the results speak for themselves: cleaner spaces, happier landlords or buyers, and one less thing to worry about during your move.


