5 Common Mistakes When Installing Pedestrian Gate
Installing a pedestrian gate may appear like a simple weekend project; dig some holes, install the posts and hang the gate.
But anyone who has actually done it knows how quickly small missteps can turn into frustrating, expensive problems. Perhaps the gate does not swing well, will drag on the ground after a couple of months, or worse still, will not close securely. They are not mere nuisances; they can jeopardize the security of your property and its aesthetic value.
Most homeowners underestimate the details involved in proper installation. The ground might not be flat, the equipment might not align, or the materials may not suit your climate. All these factors may result in the difference between a perfectly functioning, stable gate and a gate that keeps creating trouble.
In this article, we’ll explore five common mistakes people make when installing a pedestrian gate and how to avoid them for a professional, long-lasting result.
1. Ignore Ground Conditions Before Installation
Before installing a pedestrian gate, it is important to understand the ground beneath it. It is a step many homeowners miss, and believe that a solid base or a flat surface will remain in that position. Unfortunately, the soil type, drainage, and slope are significant factors in the functionality of your gate over the course of time.
For example, clay soil expands and contracts with moisture, can shift gate posts and throw them off alignment.
The solution is to check your ground condition before installation. Test soil density and soil moisture to identify drainage direction using a post-hole digger. If the ground is sloping, consider raising or lowering the heights of the posts or adding a small retaining base. Good groundwork is the key to having a stable and aligned gate over the years.
2. Use the Wrong Hardware
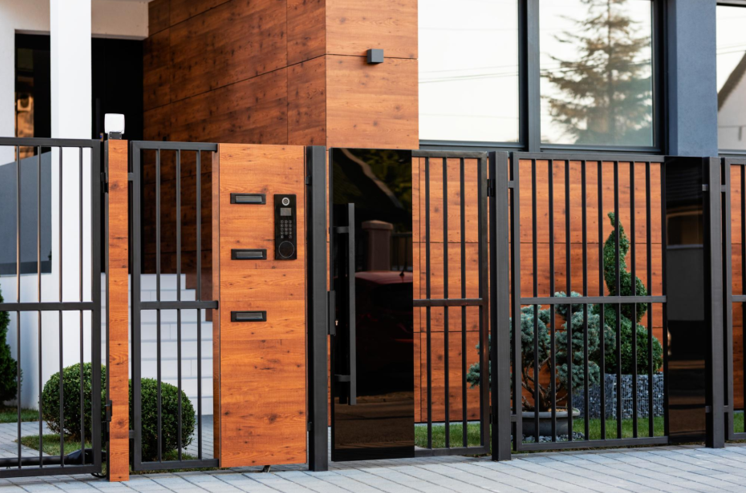
Another common mistake is using the wrong hinges, latches, or fasteners. Not all hardware is created equally, and using mismatched or low-quality pieces can lead to mechanical issues.
For example, lightweight hinges on a heavy steel gate will wear out fast, while standard screws may rust if not rated for outdoor use.
The key is to match your hardware to the material and weight of your gate. Heavy-duty stainless steel or galvanized hardware is ideal for most outdoor environments, as it resists corrosion and can withstand frequent use.
It’s also wise to use weather-resistant screws and bolts. Investing a few extra dollars in quality hardware prevents future headaches and ensures smooth movement and long-term reliability.
3. Skip Post Alignment and Depth Checks
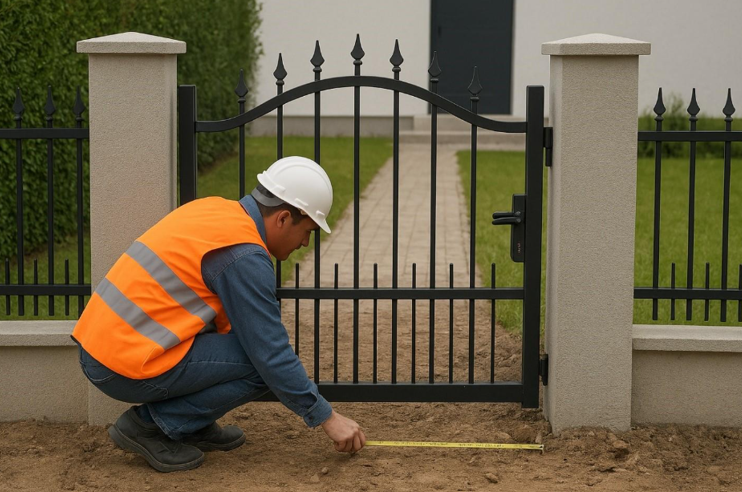
This mistake is both common and costly. If your posts aren’t perfectly aligned or set deep enough, your gate will never function properly.
Misaligned posts cause uneven swinging, scraping, and poor latch connections. Worse yet, shallow posts can loosen or tilt with seasonal movement, forcing a complete reinstall.
Always measure twice and dig deep. A general rule is to set up posts at least one-third of their height underground, with an additional six inches of gravel for drainage. Use a level and string line to ensure both posts are plumb and perfectly parallel.
Concrete is your best friend here, but it needs time to cure. Don’t rush the process. Let it set for at least 24–48 hours before attaching your gate. Taking the time to secure your foundation properly will save you from costly realignment later.
4. Overlook Gate Clearance and Swing Direction
It’s easy to assume a gate will open and close freely until it hits a wall, fence, or uneven ground. Overlooking clearance and swing direction is one of the most preventable errors. Every gate needs enough space to open fully without obstruction and must account for slope or grade changes along its path.
Before installation, determine in what direction your gate is going to swing, either inwards or outwards and trace the swing arc on the ground. This will assist you in determining obstacles such as plants, steps, or walls. If your ground is not even, change the placement of posts or the height of the gates to maintain clearance.
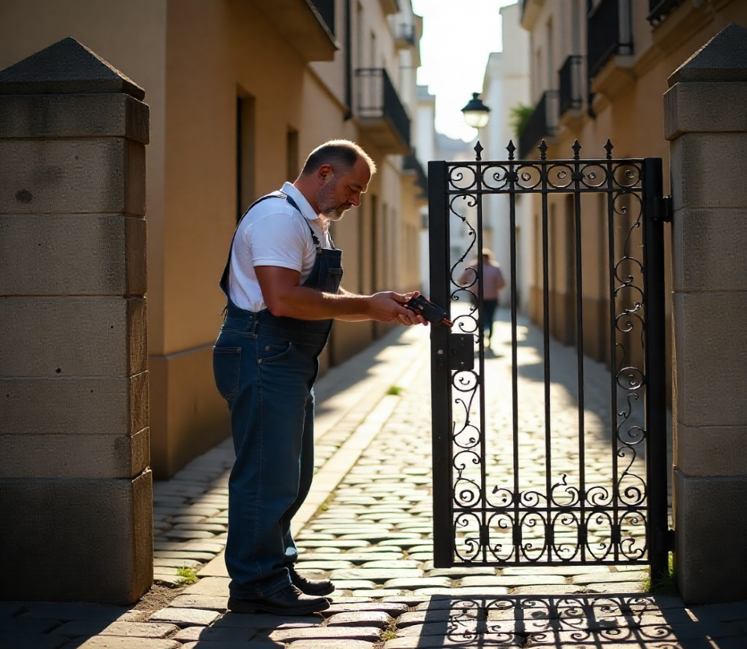
Don’t forget about latch height and accessibility. A poorly positioned latch can make the gate uncomfortable to use or unsafe for children. Ensuring proper clearance and motion isn’t just about function; it’s about creating a gate that feels natural and effortless every time you use it.
5. Neglect Maintenance
No matter how good a gate is installed, it will not last without element protection. Many individuals leave installations unfinished without finishing touches like sealing or painting hinges or lubricating them. With time, such negligence can lead to rusting, decay of wood or rigidity of movement.
For wooden gates, ensure that you apply a weatherproof sealant or paint on the gate before installation to ensure that the gates do not absorb moisture. Metal gates should be powder-coated or painted with rust-resistant finishes. Hinges and latches should be inspected, tightened, and lubricated as necessary on a regular basis after installation.
A quick five-minute maintenance plan once every few months can significantly increase your gate’s lifespan.
Final Thoughts
Putting a pedestrian gate is not as simple as placing the posts and hanging boards; it’s about accuracy, designing, and patience.
Testing your ground to the selection of appropriate hardware and finishes helps in making your gate function smoothly and lasts for years.
Furthermore, by avoiding the above-mentioned five mistakes, you will be saving not only time and money, but the frustration of having to make adjustments or repair over and over again.